

A Guide To Treat Scars On Face By Microneedling
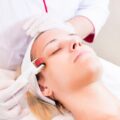
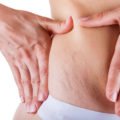
By now, you had probably come across pictures and videos on Instagram or Youtube showing people’s faces slathered with blood are alarming for some rejuvenating skin therapy. After some research, the procedure actually involves rolling tiny needles into the skin. Quite a scare, no? Well, beauty is pain, now I know. People search for solutions to their skin problems every day. How to treat scars on the face? How to remove stretch marks? And how can I get rid of hyperpigmentation? The answer is simple-by micro needling!
How To Treat Scars On Face?
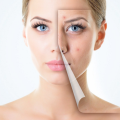
I think scars feel like double punishment. Like first you had to deal with a wound, pimple, or a stretch mark, now you have scars as a reminder. How sad. Facial Scars form when a wound caused by injuries, acne, burns, or surgery, heal itself. When a wound heals, it may eventually turn into a scar. Protecting the wounds can speed up the recovery process. Since your face is constantly exposed to the outside environment, the wounds may have a harder time to get healed.
So how can we treat scars on face? Dermarolling is the hottest diva in the cosmetic town for treating scars.
How Can Dermarolling treats Scar?
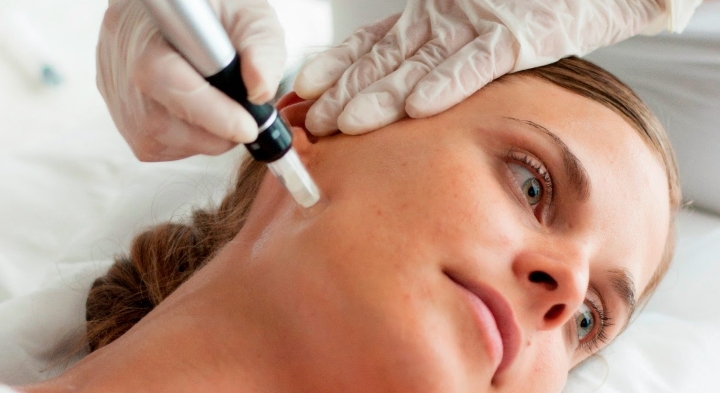
As the name suggests, dermarolling uses fine needles that prick your skin’s epidermis. The small wounds from the needles help to soften the fibrous bands of collagen scar tissue and the skin starts to heal itself. During the skin-healing process, your skin produces more collagen. Collagen is a protein that helps in keeping the structure of the skin intact. The theory is that new collagen that’s formed reduces the appearance of the scar and the surrounding area.
How To Do Microneedling For Scars?
Step 1: Disinfect your roller
Make sure you always disinfect your derma roller by letting it soak in surgical alcohol or IPA (isopropyl alcohol) for approximately 5 to 10 minutes. It kills any bacteria or infection-causing germs. This is an important step because the needles directly go inside the skin.
Step 2: Wash your face
Thoroughly cleanse your face using a gentle pH-balanced cleanser. If you’re using a derma roller with needles longer than 0.5 mm, you’ll also need to wipe down your face with 70 percent isopropyl alcohol before the rolling process.
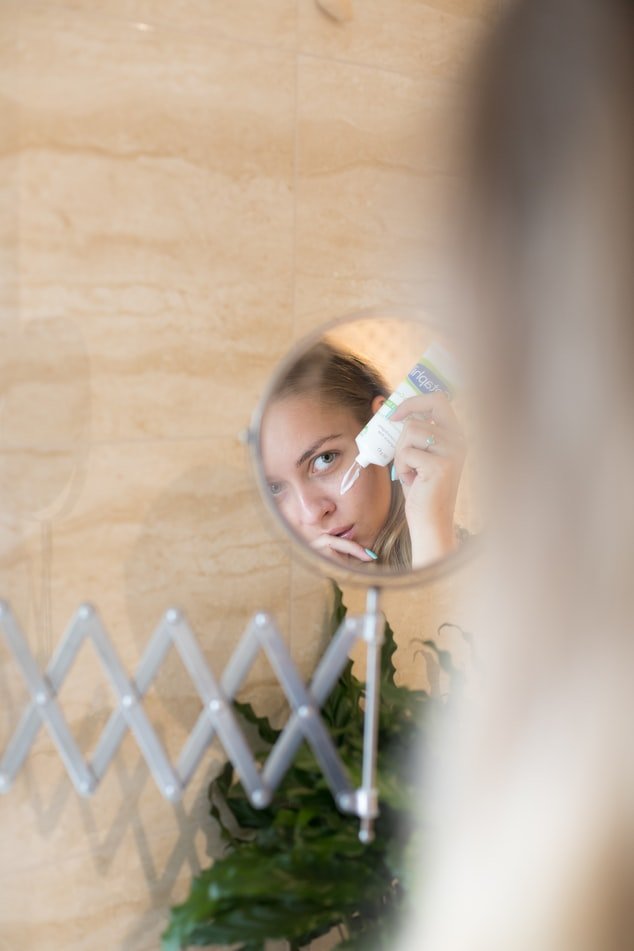
Step 3. Apply The Cream Or Serum Of Your Choice
Some people use OTC face numbing creams that help reduce the pain caused while the roller punctures your skin. Check the instructions on the label before you use the cream. Make sure to completely wipe off the cream before you start rolling. Dr.Numb Cream with Lidocaine is a great option. Click here to buy.
Step 4: Begin derma rolling
Start the rolling procedure on the scar area. Roll in one direction 6 to 8 times. Lift the dermaroller after rolling in one direction and then roll in another. Don’t apply to much pressure.
Step 5: Wash your face with water
After you’re done microneedling, rinse your face with plain water only. Be gentle because your skin is sensitive at the time. Let it air dry.
Step 6: Clean and sanitize your derma roller
Clean your derma roller with dishwasher soap. Create a soapy lather mix in a plastic container, then swish around the roller carefully so the roller doesn’t hit the sides. Only detergents should be used to clean the dermaroller after microneedling because alcohol doesn’t dissolve the proteins found in skin and blood.
Step 8: Continue your basic skin care routine
Do your regular basic skincare routine. But avoid using chemical exfoliates or active ingredients like benzoyl peroxide, salicylic acid, tretinoin, etc. Avoid makeup for the following day. Let your skin breathe.
Related Posts About Dermarolling:

Sania
Sania has a medical background and she is obsessed in dermarollers. She loves to write and study medical benefits of dermarolling.
Please add your thoughts
Leave a Reply
Want to join the discussion?Feel free to contribute!