Microneedling is no longer a fancy clinical procedure. With the Resources available today there is a way to perform this procedure yourself in the comfort of Your own home. In other words, it is a simple and secure way to therapeutically improve and enhance Your skin. It is an effective way to rejuvenate Your skin and get rid of or significantly improve burn and acne scars. Above all, it is now mostly used for anti-aging purposes.
How Does It Work?
Microneedling is a technique used with electric dermapen or dermaroller to micropuncture Your skin with tiny microneedles, creating a controlled skin injury on the outer layer of your skin, but without actually injuring the epidermis of the skin.
In other words, Your skin is fooled into believing that there is an injury. As a result of that Your skin will start to produce much more collagen in the area of the “injury”.
-
Add to WishlistAdd to Wishlist
 Select options
This product has multiple variants. The options may be chosen on the product page
Select options
This product has multiple variants. The options may be chosen on the product page
-
Add to WishlistAdd to Wishlist
 Select options
This product has multiple variants. The options may be chosen on the product page
Select options
This product has multiple variants. The options may be chosen on the product page
-
What Does Collagen Do?
Collagen is a protein that is mostly in our skin and bones. It makes the skin more elastic and it helps the skin to repair itself. That is also why collagen formation increases significantly when there is injury in the skin. Collagen also helps to restore the skin structure, which is why microneedling is so effectively reducing burn and acne scars.
Even though during this process Your skin is most likely to superficially bleed, it does not create wounds in your skin. The needles are really small and only puncture the first millimeters of the outer skin layer.
What Do I Need To Do Microneelding At Home?
Procedure itself usually takes up to half an hour, but it all depends on the area that you want to do microneedling on. Let it be said up-front also that for desired result it might take more than one time of performing the process on the area. First of all it is necessary to set Your expectations so that You wouldn’t be hoping too grand results right away.
Most important thing to realize is that results with microneedling are not imminent. The fresh collagen that Your skin produces will be laid down even 3-6 months after the treatment, so it is a long-term process.
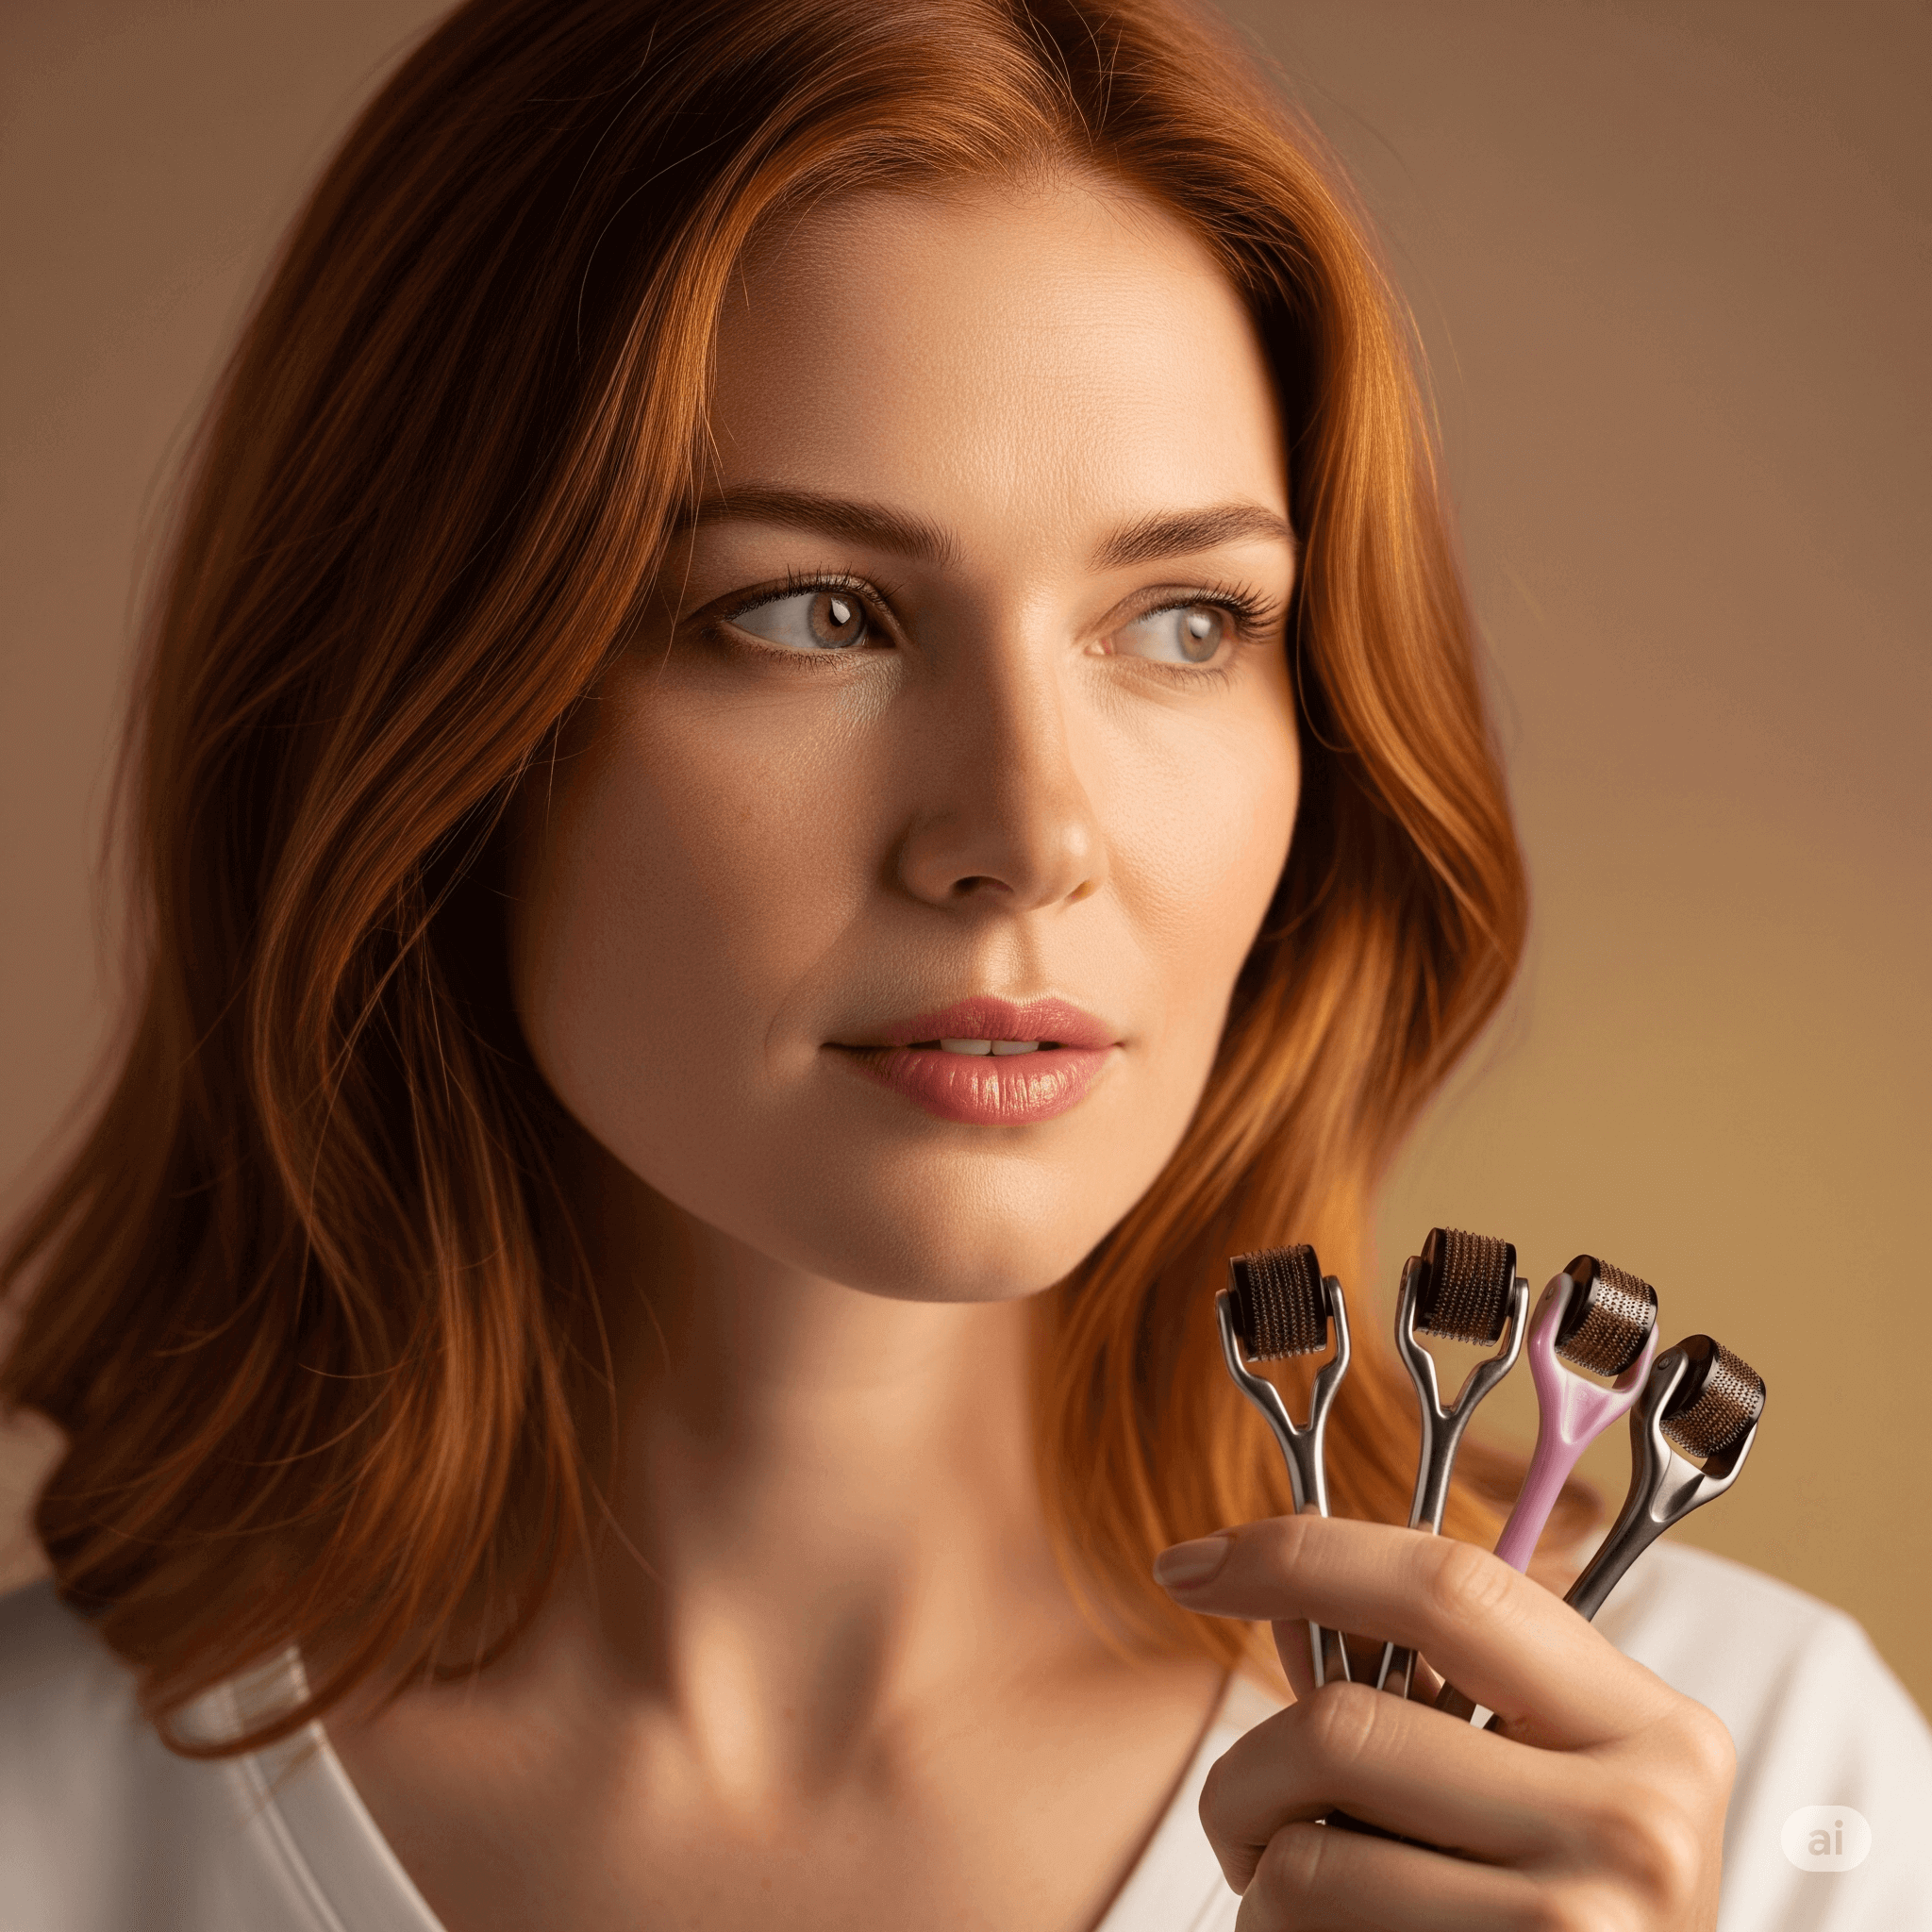
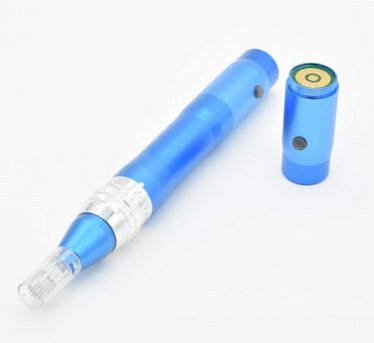
Dermarolling Equipment
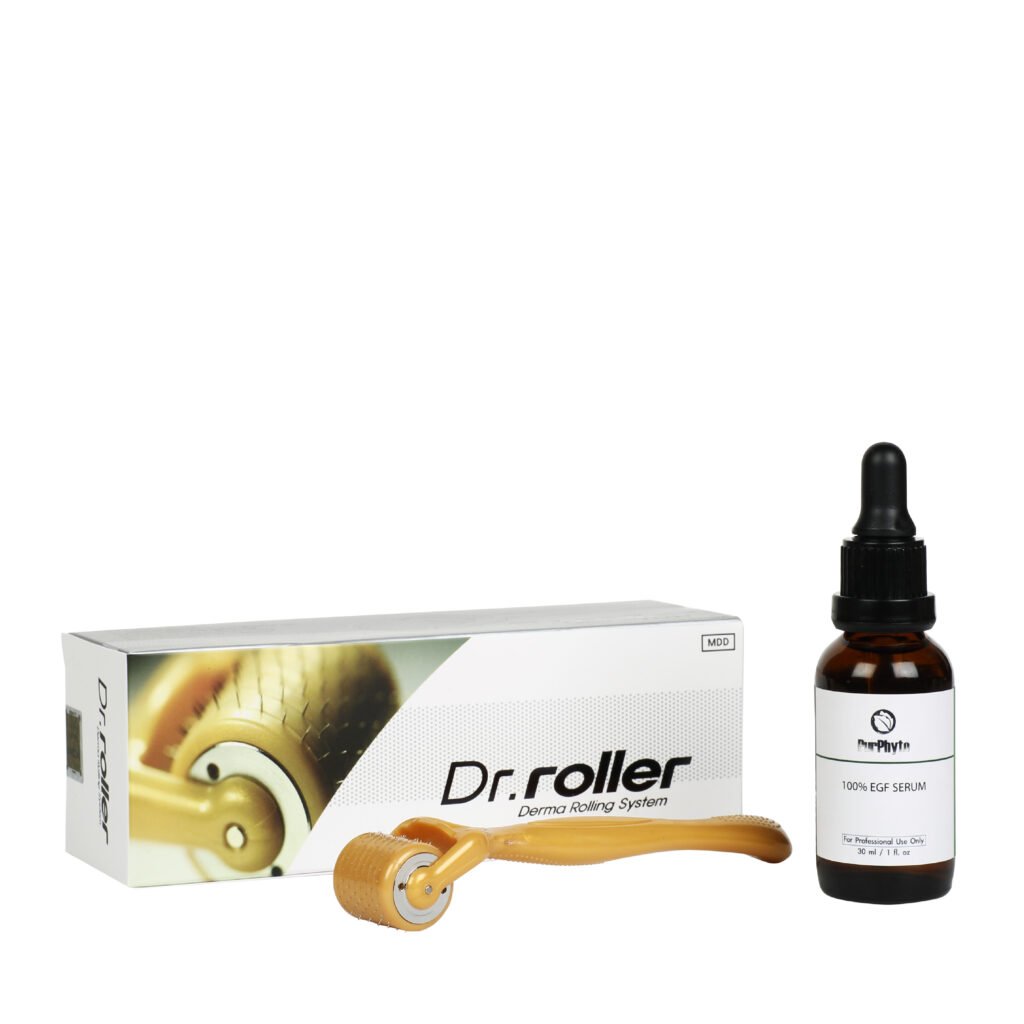
Getting dermapen or dermaroller. Without it is very hard to do the procedure first place.
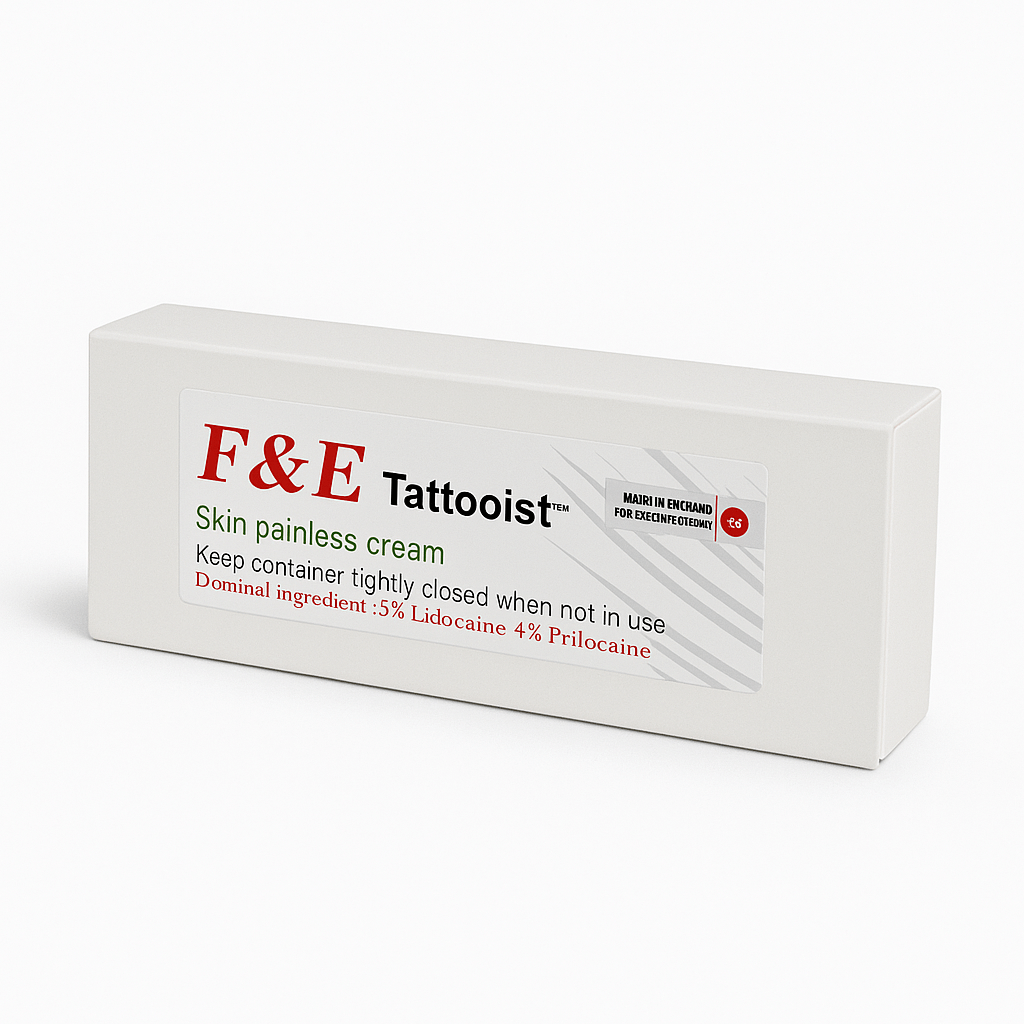
Numbing cream for skin. Specially if You do not have very high pain threshold, it is useful to have humbing cream. Otherwise the procedure can be very uncomfortable for you to perform and the results might not be as good.
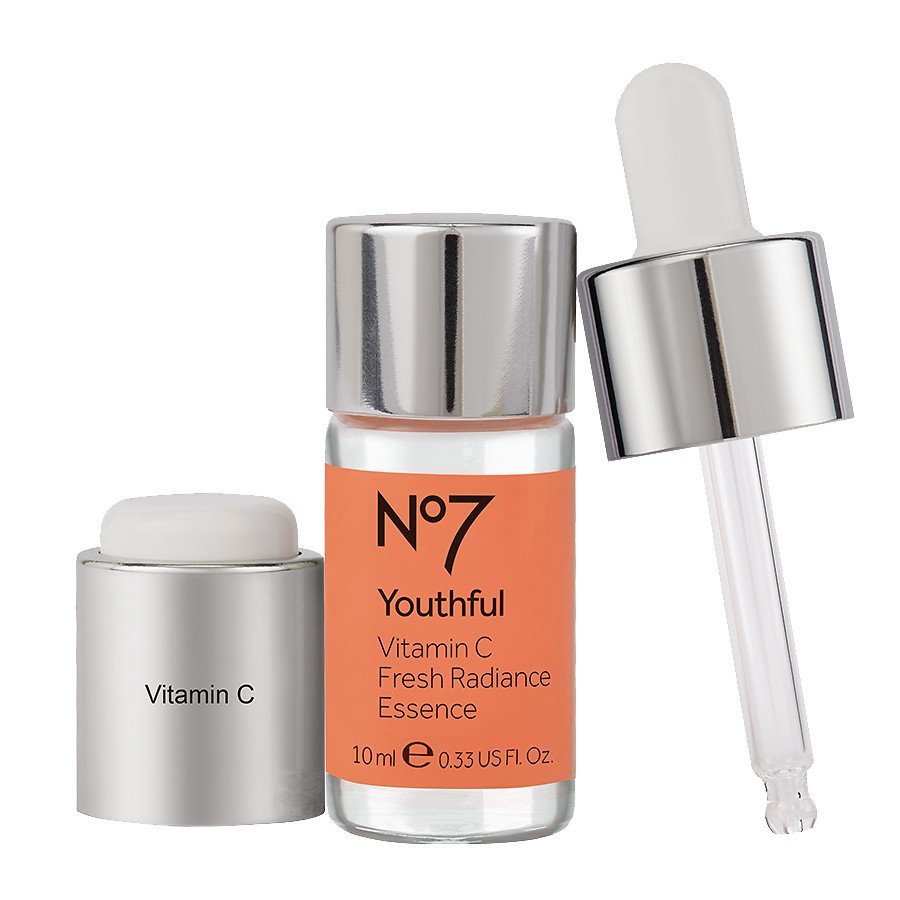
Rejuvenating Serums For Your Skin
Consider also using different serums. Microneedling also helps to puncture the minerals in serum deeper into Your skin as it helps You to get better results. To enhance Your skin to produce as much collagen as possible after the procedure, it is good to prepare Your skin for the procedure about a month prior to the procedure itself.
To do it You would need to prepare the skin with vitamin A and C, which helps collagen to form. Using serums during the procedure also helps the dermapen and dermaroller to slide better and more smoothly on the skin.
Check out our full selection of different serums here!
Also Make Sure You Have…
Water spray bottle. It is good to have, but not must to have. Specially if You are using dermapen it is good to be able to spray some water on Your skin so You wouldn’t have to overuse the serums.
Soft towel. As unpleasant as it may look at first, Your skin will somewhat bleed during the procedure. So it is useful to have a soft towel nearby to wipe it off your skin during the procedure.
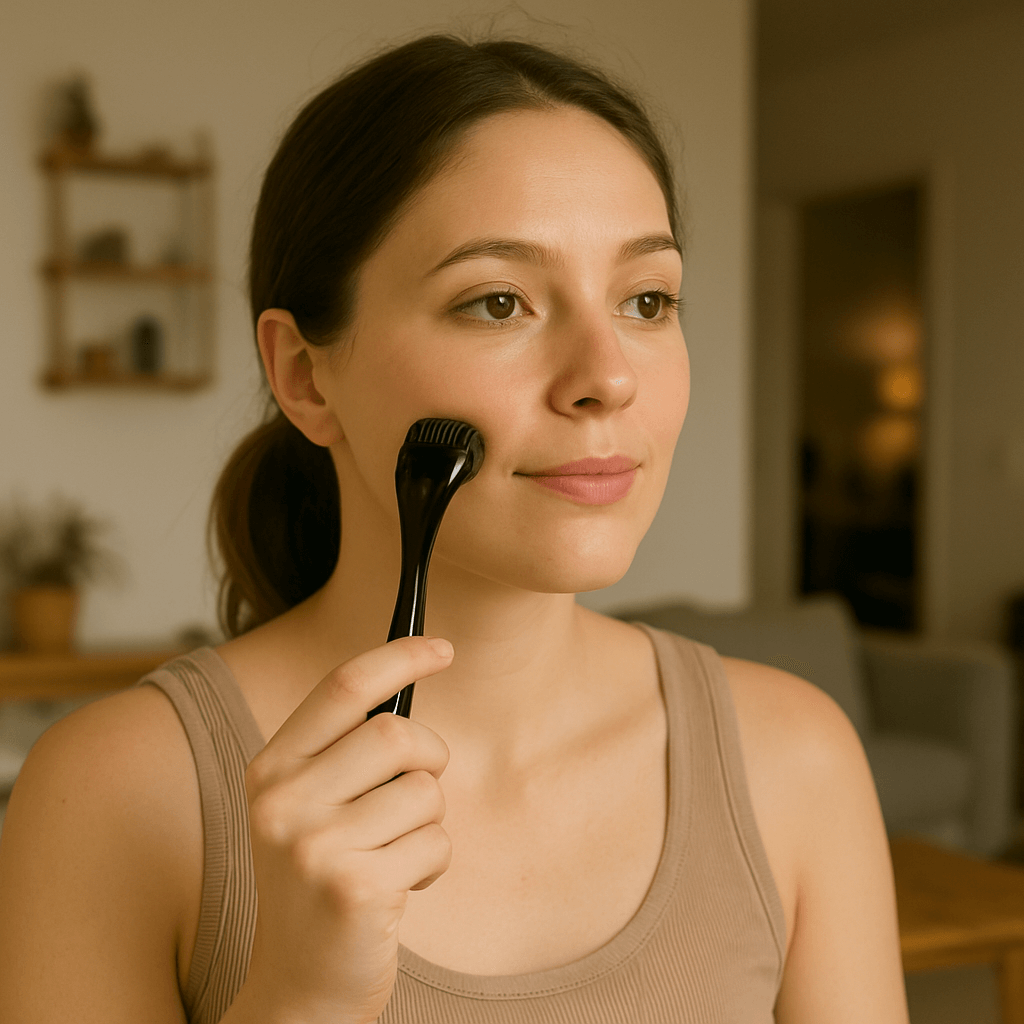
DIY Dermarolling At Home
When You have prepared all previously listed then You are ready to carry on the procedure. First of all You need to administer numbing cream on the area that You want to do dermarolling on. Do not rush with the procedure, let the numbing cream take effect.
Once the skin area is numbed You are ready to start with the procedure. Make sure the skin of the affected area is stretched out as much as possible and then administer the skin area with Dermaroller or Electric Dermapen, sliding them over the skin area at least 5 times in both horizontal and vertical directions. To make them slide better on the skin, use either serum or simple spray the water on the skin.
How Would I Know When It Is Time To Stop Dermarolling?
Affected skin area will be covered with pinpoint bleedings, that is how you know that you have covered that area thoroughly. If you wait couple of minutes after the procedure, while the skin will start to cool down, You can see if the skin is slightly red or will turn back to lighter shade. Lighter skin spots are the areas that You did not cover so thoroughly, so it is a good indication in case You missed some parts You also wanted to cover.
We suggest You to perform this procedure either in the evening before going to bed or during a day off, where You wouldn’t have to go to work or any other events.
Why?
Because it is completely normal that skin will be red and also might be look a bit swollen, but this is not something You should be alarmed by. It is part of the process.
Post-Procedure
Right after doing the procedure You may apply some saline solution or cooling agent on the skin to help it cool down faster.
During the next couple days after the procedure, specially if You plan on spending much time outdoors, make sure to use sunscreen on Your skin. The skin will be more tender than usual during that time and You wouldn’t like to be damaged by excessive sunlight.
In other words, microneedling is a long-term process. However, You should not perform it on the skin too often. At least 3-4 weeks should be between the sessions. Our aim is to use our skin’s processes of collagen formation to improve the skin not damage it, which is why it is best not to overdo it.
Furthermore, to get even more advice on dermarolling and how it beneficial for Your skin, check out our blog as well.